-

-
-
Sub-Total : $127.42
Total : $127.42
Final Manuscript Submission Guidelines
Copyright Registration, PDF eXpress Guide and Final Manuscript Submission
For authors of accepted papers at ICSEC 2026
Overview
This guide has two parts. Part 1 shows how to transfer copyright to IEEE for an accepted paper. Part 2 shows how to create an IEEE PDF eXpress account for the conference (ID 71596X), have your final paper checked and converted, and then upload it to EDAS as the final manuscript.
What to prepare
- An EDAS account and a paper in Accepted status
- The full name of the signer for the copyright form (signs on behalf of all co-authors)
- An email address you can open, for the IEEE PDF eXpress account
- The final paper as a PDF whose file name has no special characters (for example main.pdf)
- Final manuscript deadline shown in EDAS
Legend
Red box = where to click or select
① ② Numbered red arrow = order of clicks on that screen (start with 1)
Black bar = redacted personal information (paper title, author names, e-mail addresses, passwords, paper ID, signed name, user/IP details)
1Open My papers and proposals
Sign in to the EDAS site of the conference (ICSEC 2026). Click the My… menu in the top bar, then choose My papers and proposals.

2Click the Copyright (©) icon
In the list of your papers (status Accepted), click the © icon in the Copyright column of the paper you want to register.

3Click IEEE copyright submission
The Record copyright form page shows the selected paper. Click the blue IEEE copyright submission button to go to the IEEE eCopyright site.

4Start the IEEE Publication Agreement
The Welcome page outlines the 5 steps (confirm article information → confirm originality and signing authority → select the agreement → sign → download). Click Start.

5Confirm this is your article
Check the Article Title, Publication Title, Authors, Article Identifier and e-mail. If correct, select Yes, this is my article. and click Continue.

6Step 1: Confirm article information
Review the details again. If the title or author list changed after review, click Edit, make the change and click Save (or Reset to restore the original). When correct, click Continue.

7Step 2: Accept the plagiarism policy
Read the IEEE policies on plagiarism and Similarity Check, then tick I have read and agree to IEEE policies related to plagiarism and other forms of publishing misconduct. and click Continue.

8Step 2: Confirm signing authority
Select Yes, I am authorized to sign the publication agreement and over the age of 18. (no need to fill in other names or e-mails) and click Continue.

9Step 2: Select A/V Recording Consent
Choose whether IEEE may record video and audio of your presentation: Yes (permit) or No (do not permit), according to the author's wishes. Then click Continue.

10Step 2: Checking for Mandates
If your work was funded by an organization that mandates repository deposit, or you are staff/student at a UK university, select the matching option. Otherwise keep Not affiliated with any group on this list and click Continue.

11Step 3: Select employment status
Select your employment status, which affects copyright status: Crown Government, European Commission, United States Government, or None of the above if none applies. Then click Continue.

12Step 4: Read the IEEE Copyright Transfer
The IEEE Copyright Transfer form is shown. Scroll through all terms (General Terms and Consent and Release). Click to View offers a read-only copy in other languages, but you must sign the English version.

13Step 4: Type your name to sign
At the end of the form, type your full name in Please type your name to sign. Typing your name constitutes a legally valid electronic signature. Then click Confirm.

14Step 5: Download the signed agreement
The system confirms that your Publication Agreement is complete and e-mails you a copy. Click Download the completed Agreement (PDF) to save it as proof, then click Return to go back to EDAS.

1Open IEEE PDF eXpress and choose Create account
Go to ieee-pdf-express.org and open the Login page. Because you do not have an account yet, click Create account and register with the conference ID, an email address you can access, and a password.

2Registration confirmation
After you register, the page shows Thank you for registering for an account. The system has sent an email to your address. Check your inbox or junk mail.

3Enter the Conference ID and log in
Return to the Login page and fill in: ① Conference ID = 71596X (the ID of this conference), ② your email address, ③ your password. Then click ④ LOGIN.

4Success message
A Success dialog says that an email has been sent to your address and asks you to check your inbox or junk mail. Click OK, then open the email and follow its instructions if it asks you to confirm or activate the account.

5Complete the User profile
On the first login, the User profile page opens. The Conference ID and email are filled in automatically. Complete every field marked with * (First Name, Last Name, Institution (affiliation) ①, Department ②, Address ③ and any other required fields further down the page), then scroll down and save the profile.

6Account saved
A dialog confirms Account has been saved successfully and tells you to click Dashboard to create a new title. Click OK, then choose Dashboard in the left-hand menu.

7Create a new title: Step 1, Create Title
On the Dashboard, click CREATE NEW TITLE. A four-step wizard opens: Create Title → Upload File → File Received Result → Convert PDF. In Step 1, type your Paper Title in the box ① and click CONTINUE ②.

The paper you upload must not have the footer text at the bottom left of the first page
The official “IEEE Manuscript Templates for Conference Proceedings” must be used.


8Step 2: Upload File
Drag and drop your PDF into the box, or click Browse ①, and wait until the file shows Success. Then click CONTINUE ②.

9Step 3: File Received Result
The File Detail table shows the file name, size in bytes and content type of what you uploaded. Check that this is the correct file and click CONTINUE. A PDF will be sent to you by email shortly and will also be available through your account, together with an email confirming receipt of your file.

10Step 4: Convert PDF, wait for the check and the result
IEEE PDF eXpress now checks and converts your file. When it finishes, the resulting PDF is emailed to you and appears on your Dashboard (use RELOAD to refresh the list). If the file passes the check, you can use the converted PDF for the final submission. If it does not, read the message you receive, correct the source file and upload it again.
11Submit the final manuscript in EDAS
Log in to EDAS again and open My… → My papers and proposals. In the row of your paper, click the cloud-upload icon in the Final manuscript column ① (the deadline is shown under it, for example “until Nov. 5”). Upload the PDF you received from IEEE PDF eXpress and follow the on-screen steps to finish the submission.

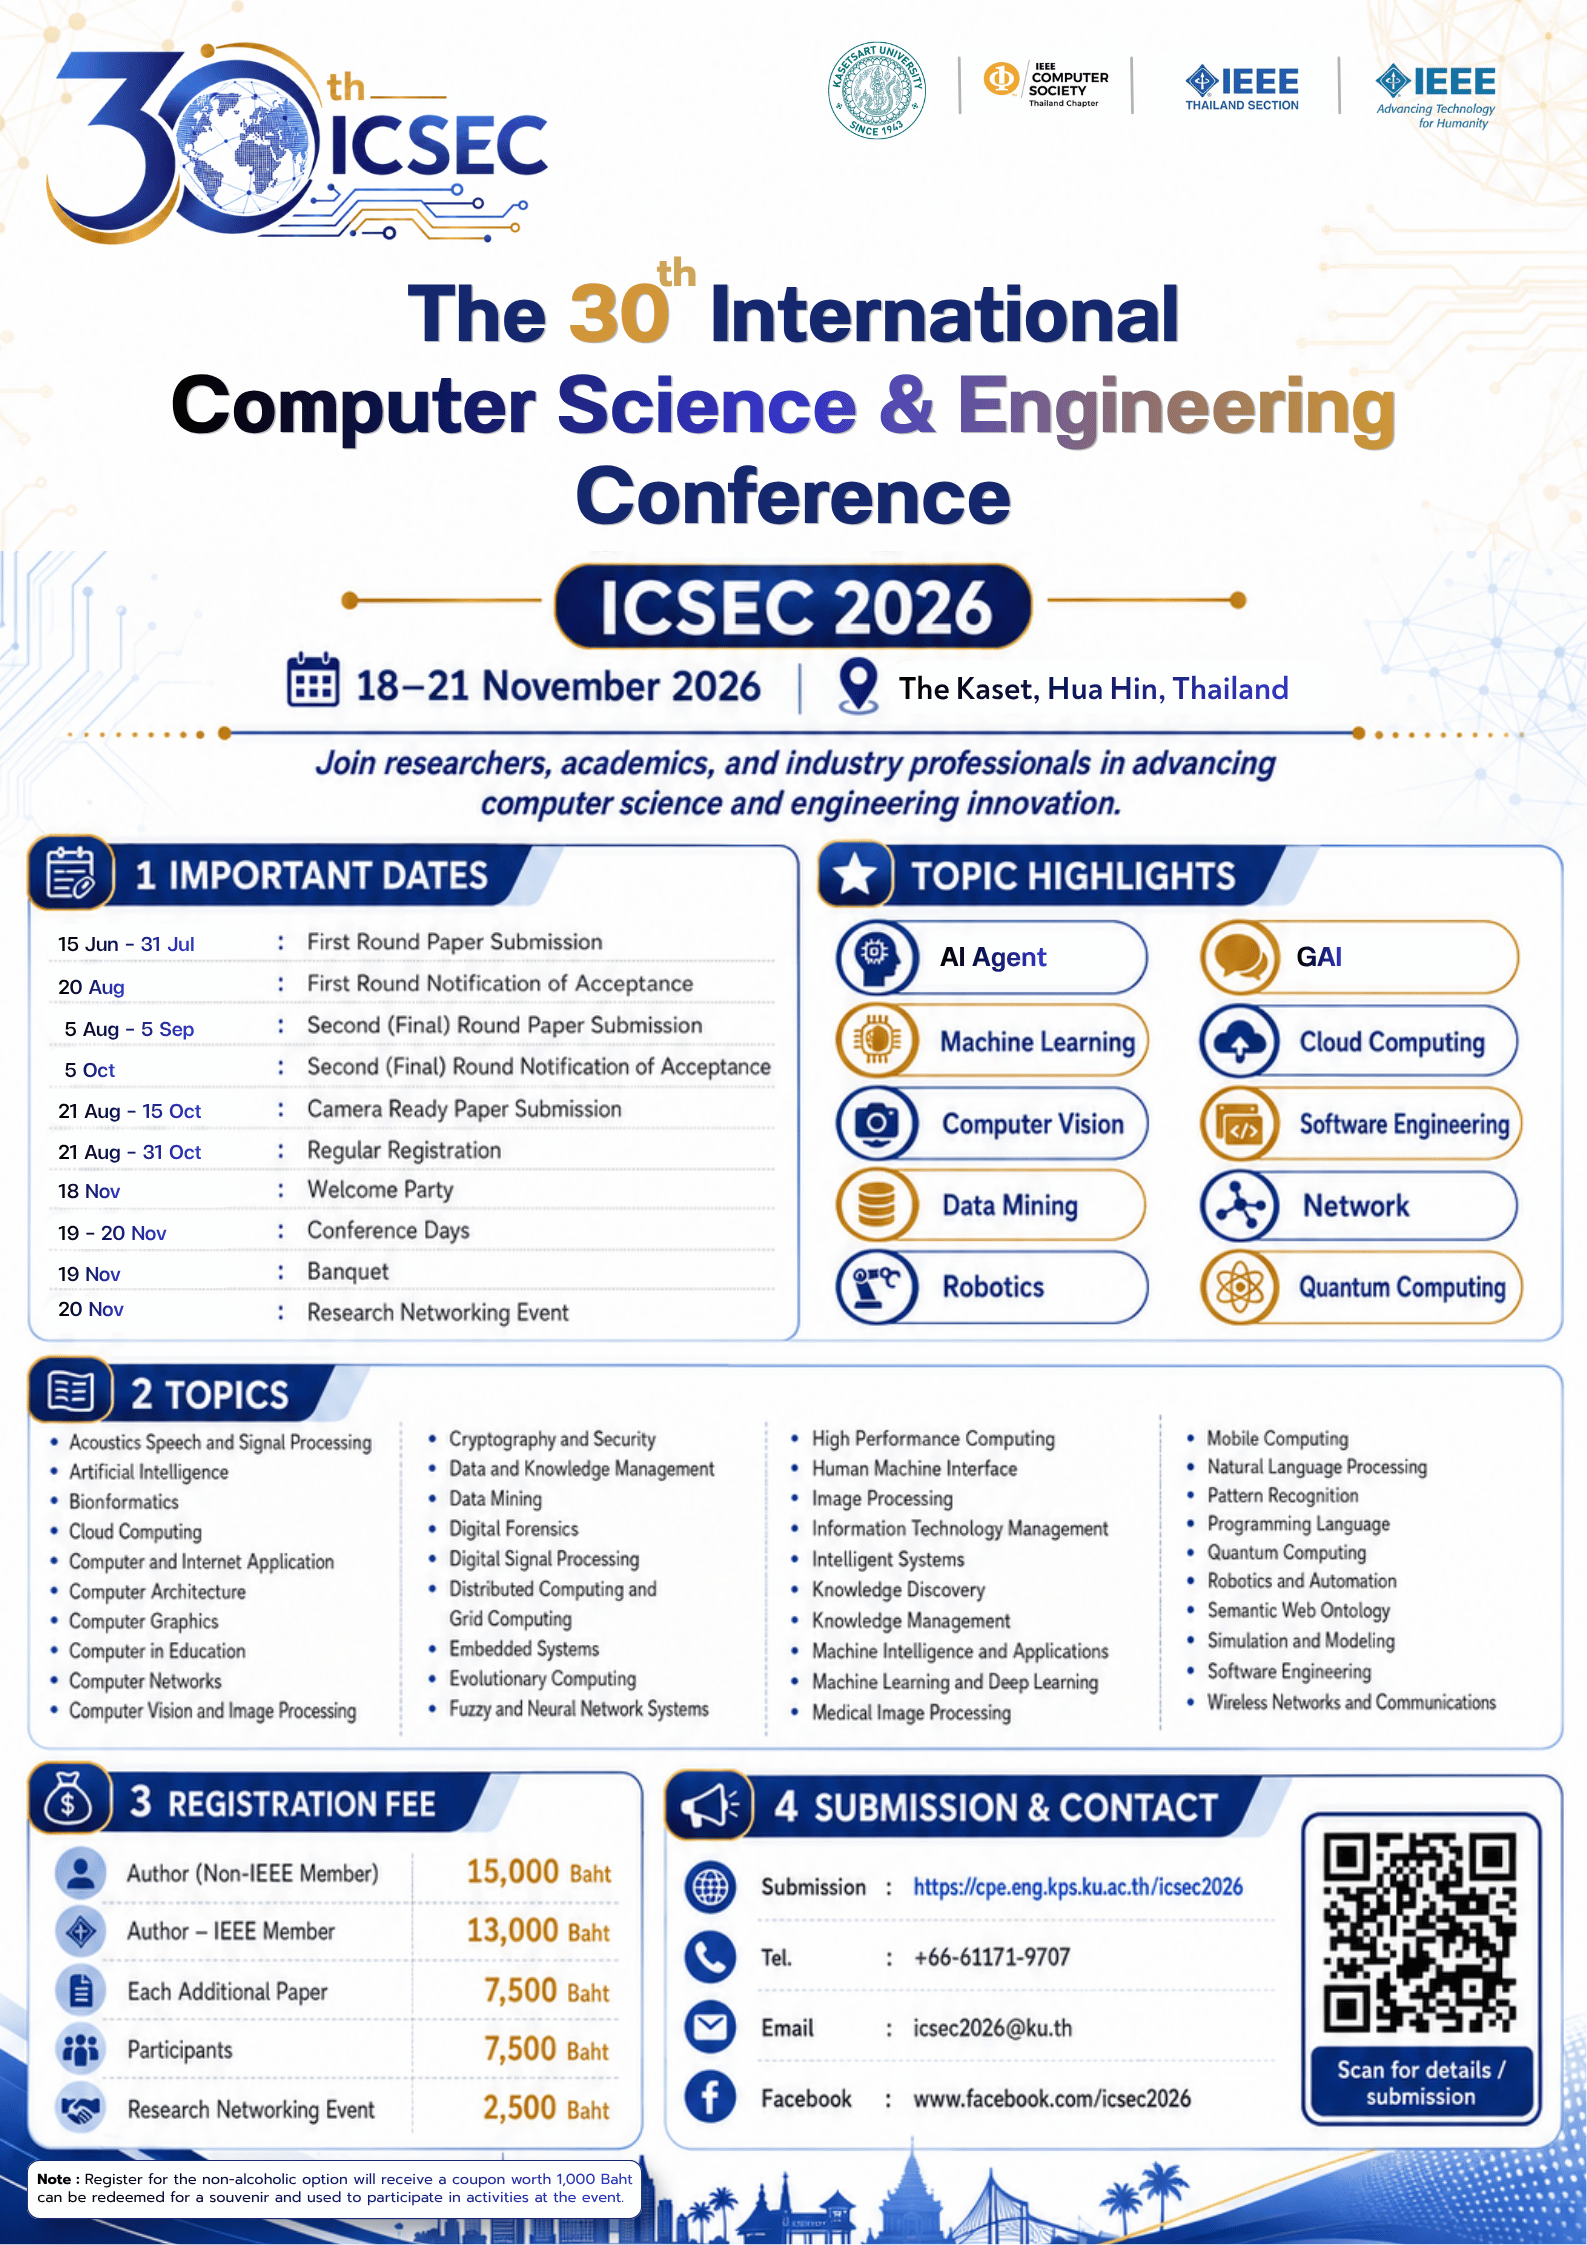
ICSEC 2026 Poster